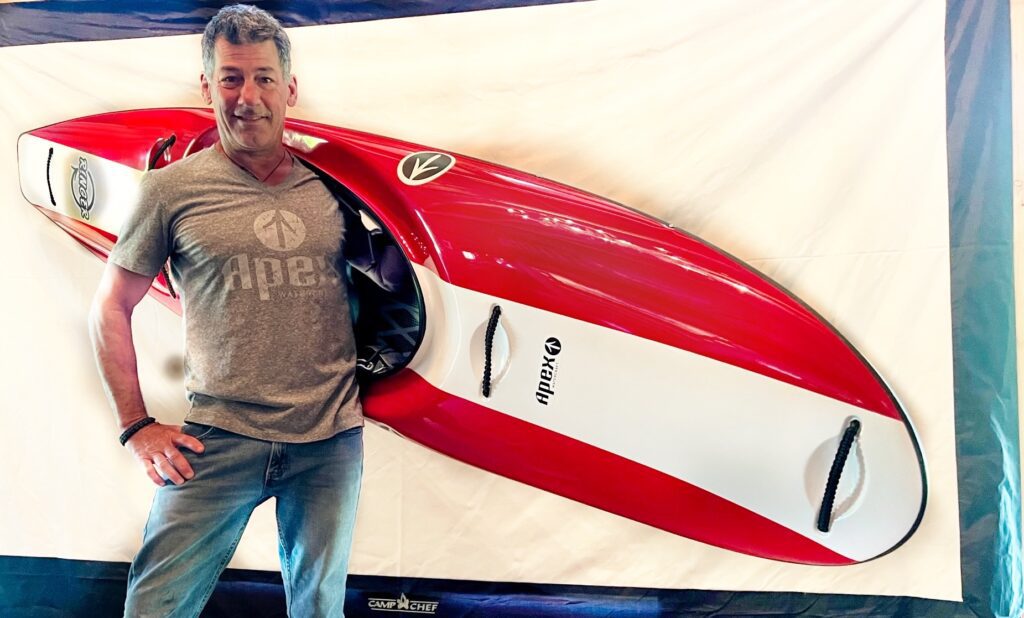

The Ringer is designed to be custom fit to your body without a lot of bells and whistles. Simplistic, functional, and lightweight.
When you first unbox your Ringer you’ll find it suspended in the tough cardboard box, and wrapped in plastic.
In order to outfit it, I recommend that you get the following tools and glue ready.
Tools
- Drill and drill bits (1/16” and 3/16”)
- Hack saw blade, or keyhole saw, or steak knife (cutting some foam)
- 80 grit sandpaper
- Super 77 contact cement, or other contact cement
- Large Flathead screwdriver
Remove the boat from the plastic and find the black outfitting bag and removed all of the contents.
In this bag you’ll find:
- 1 set of aluminium footbraces, with screws and foam washers for waterproofing them.
- 1 set of machined hip pads, taped to each other. Remove the tape and separate them. They are taped together to ensure we include a left and right and don’t accidentally put two rights or two lefts in the bag.
- 4 hip pad shims
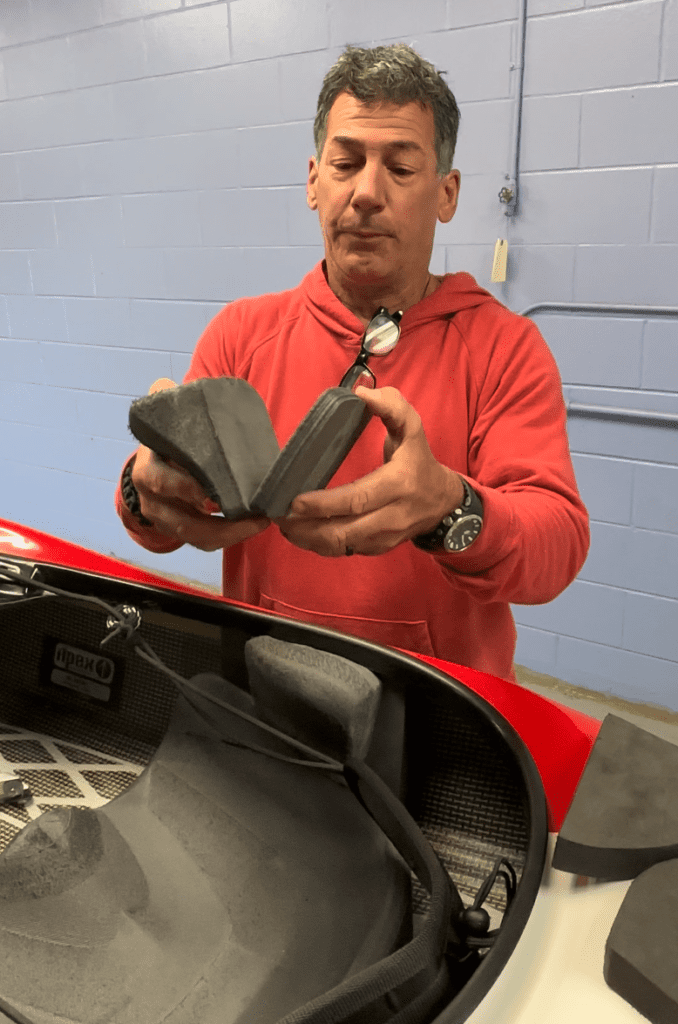
- 4 funky looking 1” thick foam pieces- these are your “thigh hooks”.
- 1 Apex Sticker for your vehicle.

In the boat, you’ll find:
- 1 Seat- not glued down.
- Front and rear walls- not glued down.
- Backband is installed and ready to go.

Some good information to have:
Seat position:
More forward equals less stern edginess, but harder to squirt. More backwards position is easier to squirt, but more “Playful stern”. The good news is that you don’t have to glue the seat in tight, or at all unless you plan on swimming a lot.
Footbrace position:
If this is your personal boat, you can mount the footbraces so that shorter or taller people to paddle the boat too by mounting them so you use the footbraces with them in the middle of the track. If you are super short, maybe consider mounting them so they are near the back of the track, so taller people can use the boat too, and vice versa.
Steps to get your boat ready to paddle:
Determine footbrace drilling spot
- Get the appropriate tools and glue out and ready.
- Position the seat about 5” from the back of the cockpit rim for a “middle position” Move it forwards up to 3” if you want a forward position, and up to 2” back if you want a stern squirty position. (If you have it forward, try your spray skirt on, as you can get so far forward that it is hard to put on your skirt. ). Don’t glue the seat in yet.
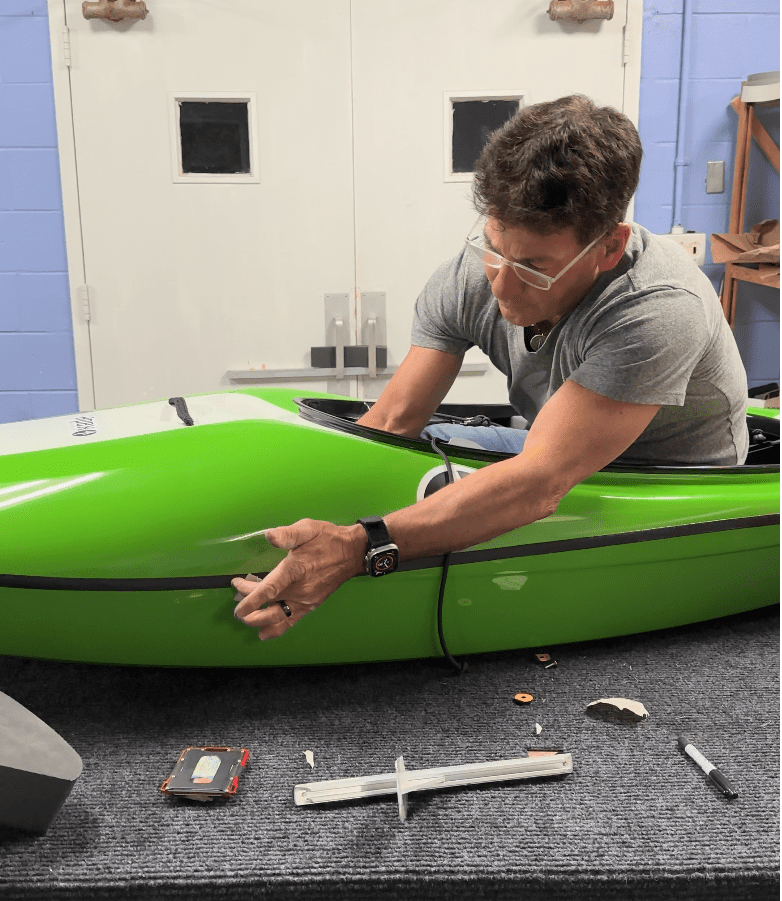
- Install footbraces-
- Grab a footbrace and put it in the middle position (they adjust by pulling the brace back and sliding on the track) and put your foot on it while sitting in the boat. Using your finger, or a marker, mark where you think the footbrace is at on the outside of the boat.
- Put the footbrace on the outside of your kayak where the mark was and use a small diameter drill as a “pilot hole” and drill the furthest towards the bow hole right in the middle of the black seam tape. Exact forward and back position isn’t critical assuming you were close on your mark as it is adjustable by 6”.
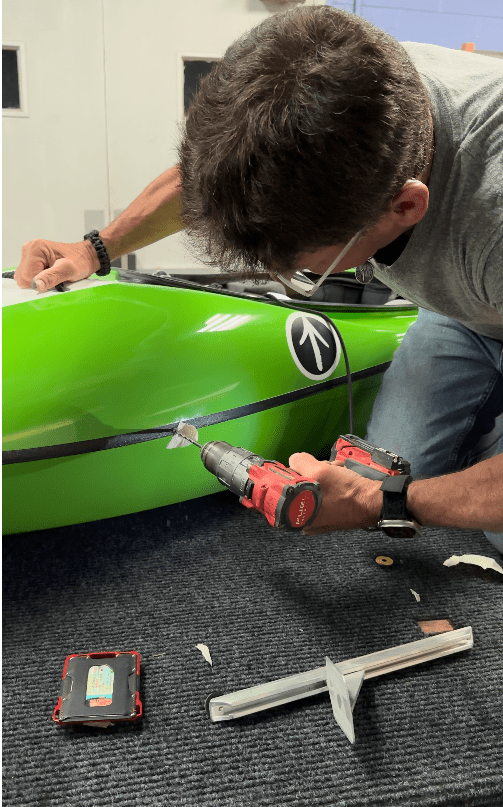
- Drill the full size hole using a drill the same size as the screw where you drilled the pilot hole.
- Using the pilot drill bit (1/8”), place the footbrace on the outside of the boat again, and put the drill bit through the footbrace and the hole to hold it in place and mark the second hole with another small diameter drill bit. This hole is important to get right if you want the screw to go in easily. If it is off at all, you’ll struggle with the second screw and have to open up the hole bigger to make it fit without cross threading it.
- Drill the second hole with the larger bit. (3/16”)
- Now, you can install your first footbrace.
- Put the screw by the bow in first and don’t tighten- just get it started.
- Put the closer screw in by hand- do NOT use a power tool or screwdriver to get it started. If you can’t get it in by hand, the hole is off. (50% chance that this will happen to you). If the hole is off, figure out if it is too narrow or wide and use your drill to open up the hole enough to get the screw in by hand. The washer will prevent leakage.
- Tighten both screws carefully until there is some flex showing in the carbon- no need to over tighten.
- Repeat on other side.
- Install Thigh hooks
- Grab the 4 pieces of foam that are shaped like the thigh braces and sit in your boat
- Put your knees against the outside of the knee area and push one of the thigh foam pieces against the inside of your knee/thigh. It should line up with the thigh braces pretty closely. If you have fatter legs, it may stick out a bit, if you have skinny legs it may be inside the braces a bit. If this feels like enough support/hook, you’ll glue only 1 of them on. If you want more hook, add the second one on top of the first one and see how that feels.
- Take a close look at exactly where the foam pieces fit when you are sitting in the boat as you need to glue them into that position with contact cement.
- Spray a thin layer of contact cement on the foam.
- Spray a thin layer inside your thigh braces and cover the gluing area completely.
- Wait 10 minutes to dry
- Place high hook foam in the position you decided felt best and press tightly.
- Repeat on second side.
- Repeat again with second layer of foam if you decide to go more aggressive with it.
- Using the knife or saw you have available trim the excess foam sticking out beyond the thigh braces (if any) when looking down at it vertically. Try not to cut into the thigh braces.
- Using the 80 grit sandpaper, clean up the cut marks and make it look pretty.
- Install Hip Pads
- While sitting in the boat, in the most comfortable part of the seat, tighten backband like you would for paddling (against your back, but not super tight) and have your feet on the footbraces. (Adjust footbraces to feel good as well before doing hip pads.
- Grab the hip pads and put them in position with the narrower part facing forward. The should be pretty close to your butt and feel good when you get them positioned correctly. If they are loose, put a shim behind it to tighten up. If you are super skinny or small in the boat, add both shims and try it.
- FYI- you can push the hip pad under the cockpit rim for a super tight fit, which is where it belongs. It was designed to press fit between the seat and cockpit rim.
- Glue hip pads in place- spraying glue on the vertical side walls and the hip pads and letting it dry before installing. (10 minutes).
- Get out of the boat, take seat out and install so you can do it cleanly.
- Add the seat back in and the seat will be a much tighter fit with the hip pads holding it into position nicely.
- Install Seat- if you want to glue it in.
- Leaving the seat in place, use something to pry up and hold the front of it off the hull and spray a small amount of glue on both the hull and the seat, let dry for 10 minutes and push it tight against the hull.
- Repeat for back of seat.
- I don’t glue mine in as I like to play with the position a bit and don’t intend to swim. I also transport with the boat in a boat bag, so it can’t blow out either.
You are ready to go! When I do this for my own boat, it takes me about 30 minutes.
Final Tweaking if needed:
The beauty of raw foam for your outfitting is the ease of customizing/tweaking it. If there are any pressure points, use the 80 grit sandpaper to take them off.
Take a photo of your handiwork, and share with your friends and with Apex!


🙂
EJ