
People who are new to a composite boat tend to be stressed out about breaking it. This is a case of “Fear of the Unknown”. Paddlers who have owned composite boats over the years know what maintenance is about, know what kinds of abuse the boat can and can’t take, and are generally comfortable doing repairs as necessary. The majority of composite whitewater boats on the water today are slalom boats, and the second category is freestyle kayaks. Slalom kayakers in the early years trained on natural rivers and ran the river in their kayaks. We ran the Upper Yough, Great Falls of the Potomac, Cheat, New, Gauley, etc. etc. My first slalom trip to Europe in 1984 was 6 weeks long and we trained on, raced on, and ran whitewater rivers everyday. When Running the “Gorges du Verdon” in France, I back entered entering a cave that the water goes into an knocked the bow off of my slalom boat on the top of the cave entrance. I had to stuff something in the end of my boat to paddle out. The next day, I took the day of training off and went to the Riviera with my kayak and some repair materials and built a new bow for my boat while on the beach. I paddled the next day and it was good to go. The point of this introduction, is just to give you a feel for things. Yes, you can break your carbon boat. This is why plastic kayaks were created. Carbon boats will never 100% replace plastic. However, If your run is friendly enough for a carbon boat, and you are careful enough, you can paddle without needing repairs for a long time. FYI- I have not had to repair a single Whitewater or fishing kayak since I started making them in 2020. I have scratches, missing gel coat, surface “cracks” that are in one layer but don’t need any repairs in a few areas on both my Tyr and my Ringer.

“Luckily” I can show how to repair your boat because we have one to use as an example.
Steps for repairing your kayak.
#1- you need a repair kit. For the process below you’ll want the following in hard before you start:
- Carbon fiber cloth, or fiberglass cloth (Weaved, not “matt”)
- 30-60 minute Epoxy. (repair kit by Apex has very good epoxy for repairs)
- 80 or 120 Grit sandpaper
- Peel Ply
- Sharp Scissors
- Masking Tape, duct tape, or packing tape
- 1/2” disposable paint brush (hairs, not foam brush as the foam absorbs too much resin)
Carbon / Kevlar Repair – Short Version- External Repair.
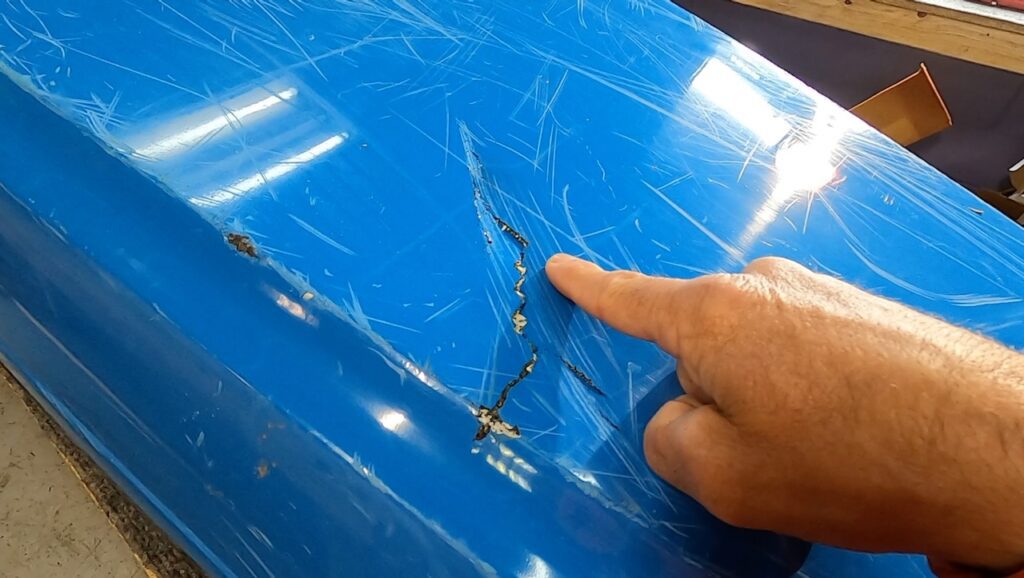
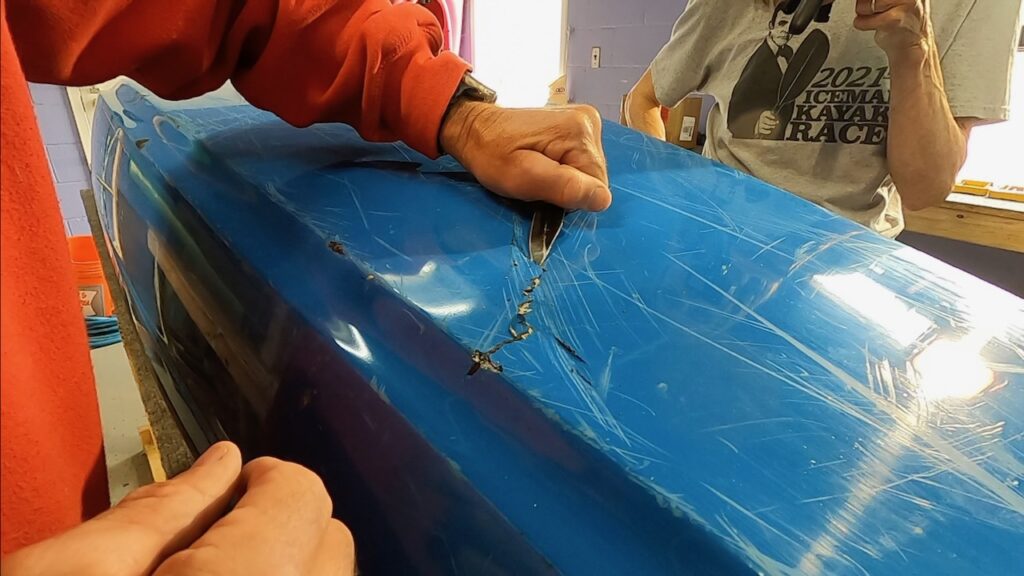
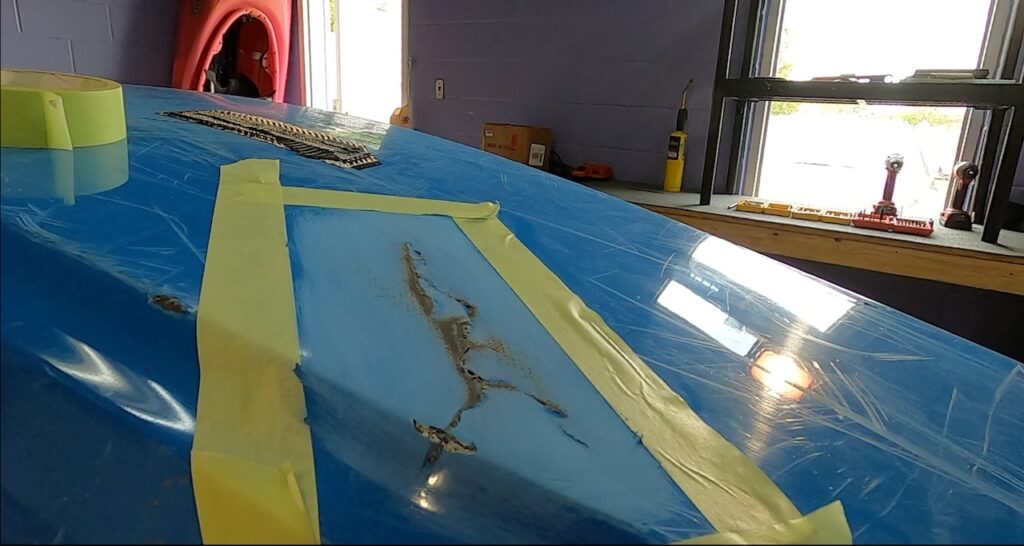
- Pry and push the damaged area back into shape the best you can with a stiff knife.
- Sand the damaged area with 100-180 Grit sandpaper. Try to get any material that is “Sticking up” pushed down and/or sanded off, so that the surface is flat again.
- Clean the area with acetone or alcohol using a clean rag or paper towel.
- Use masking tape to outline the area you will be fixing so you don’t have resin on the rest of the boat.
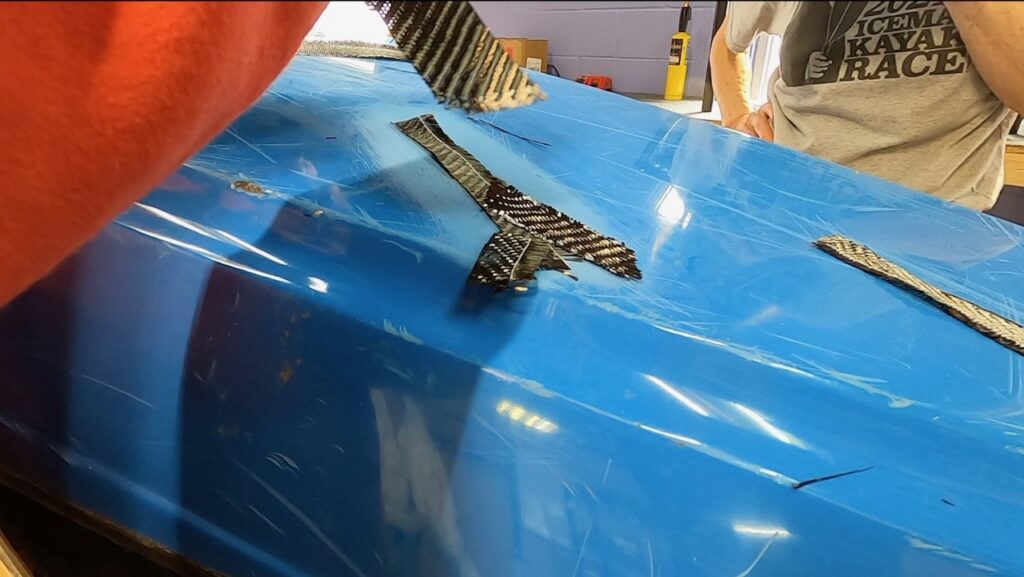
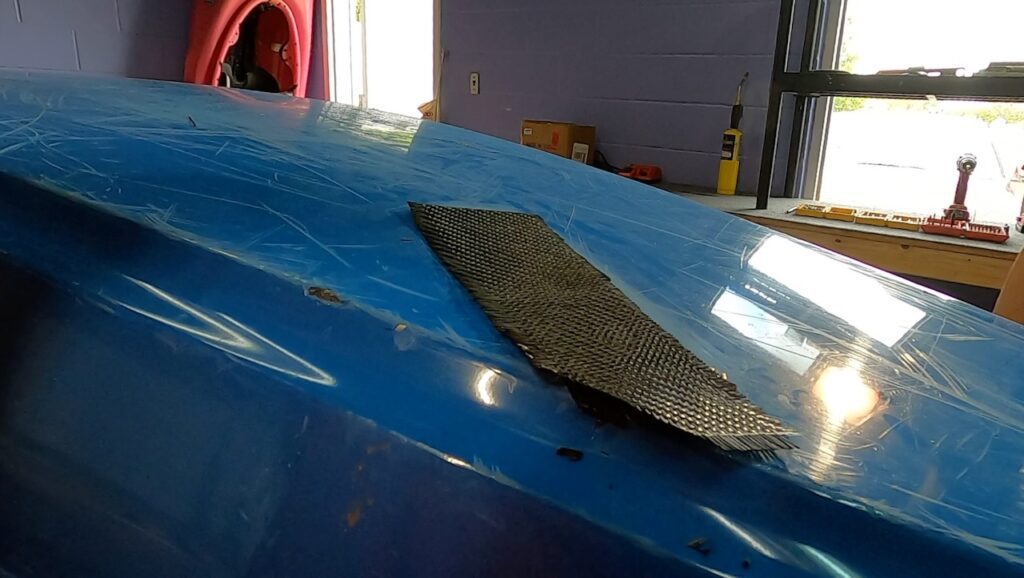
- Cut three to four pieces of the Carbon Fiber or fiberglass material (if you don’t have carbon) to the proper size to cover the entire break so that:
- overlapping the damaged area by .5″ on all sides for layer 1
- Overlapping the first layer by an additional .25” on all sides for second layer
- Overlapping the second layer by an additional .25” on all sides for third layer
- Goal is that only the final layer’s edges are exposed in patch- this makes it look better and it assures the strongest bond.
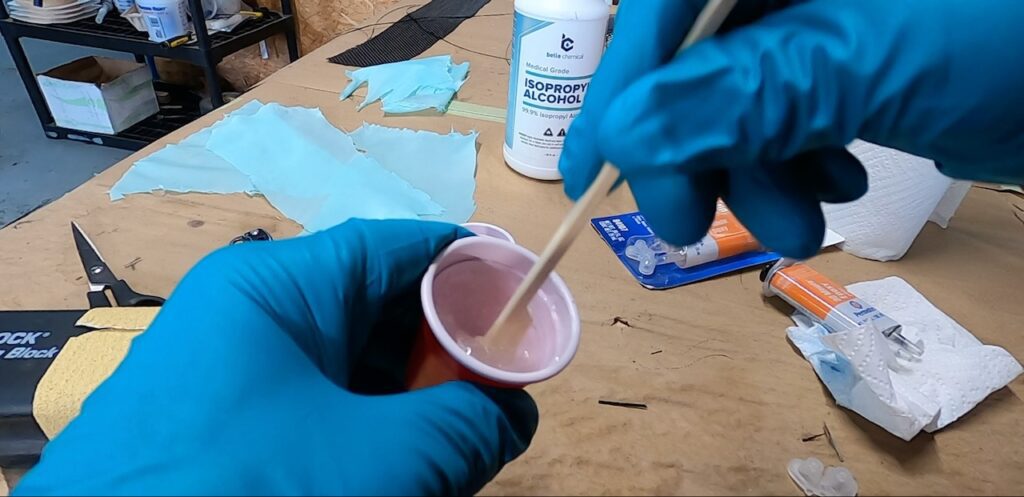
- Mix the resin and hardner. Epoxy is the ideal resin to use. 15-30 minute epoxy is the fastest cure time that you’ll want to use unless you are REALLY good at it. You “can” use 5 minute epoxy, but it tends to be thicker and harder to wet out the material and if it begins to harden before you are finished with the repair, you’ll make a mess. Remember that the warmer it is where you are working, the faster the resin sets. For a low-stress process, 1-hour set-time epoxy gives you plenty of time.
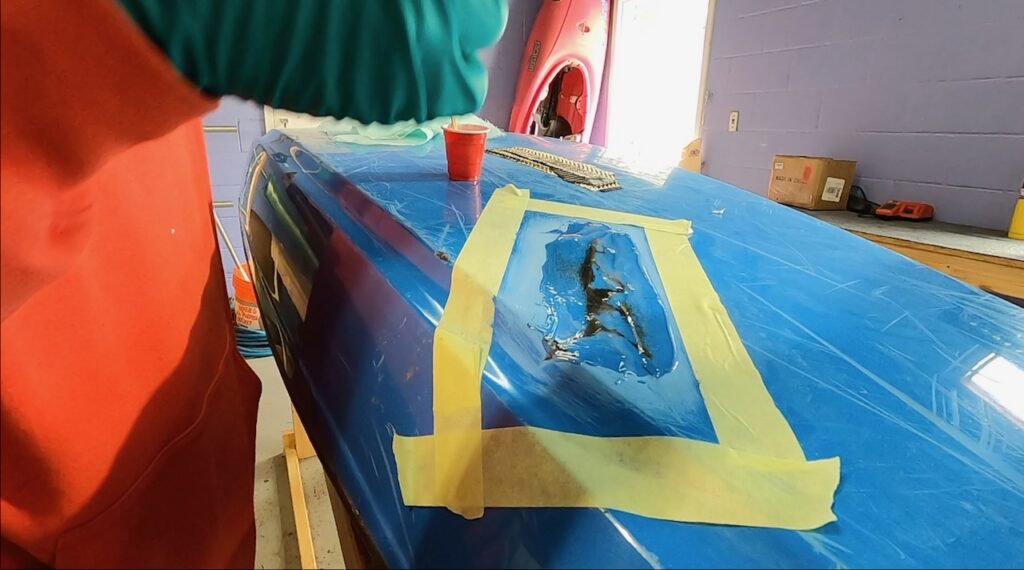
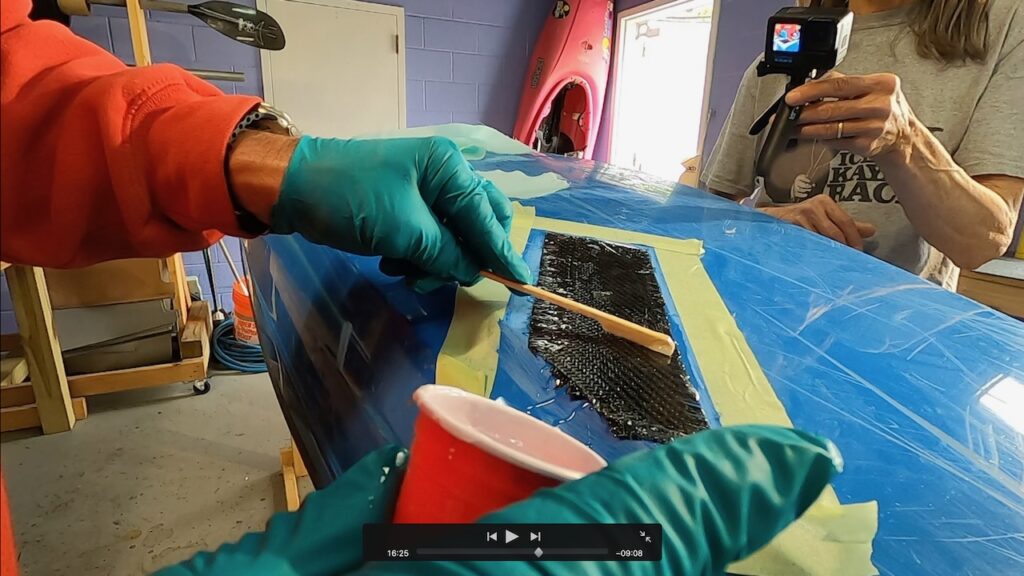
- Brush mixed resin directly to the boat at the damaged area, wetting it out completely.
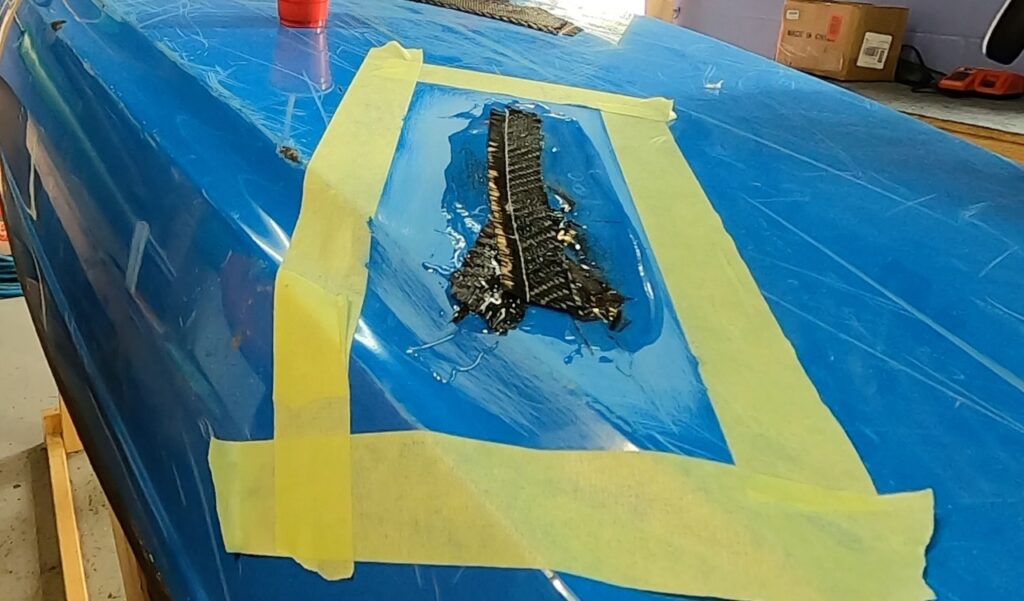
- Place your 3-4 pieces of cut-to-size repair carbon/glass on wax paper and brush resin onto each one until completely wet. Work out air bubbles with the paintbrush or Squeegee. Be sure the cloth is fully saturated with resin.
- Apply the narrow piece fully covering the broken area first. Use a Brush to ensure it is positioned correctly and down tight against the boat. Add the next wider piece with the goal of covering the first piece completely and use a squeegee to both push down and pull out extra resin. Continue until you have all of the pieces applied. It is strongest if you don’t have extra resin in between the pieces so squeegee out the extra. If you overdo the squeegee and pull air bubbles into it, add more resin.
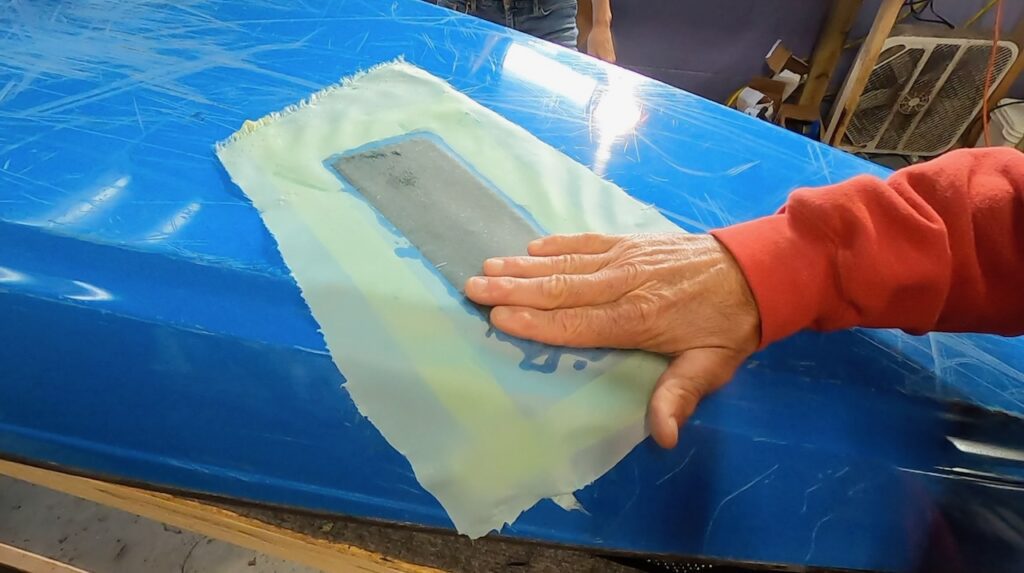
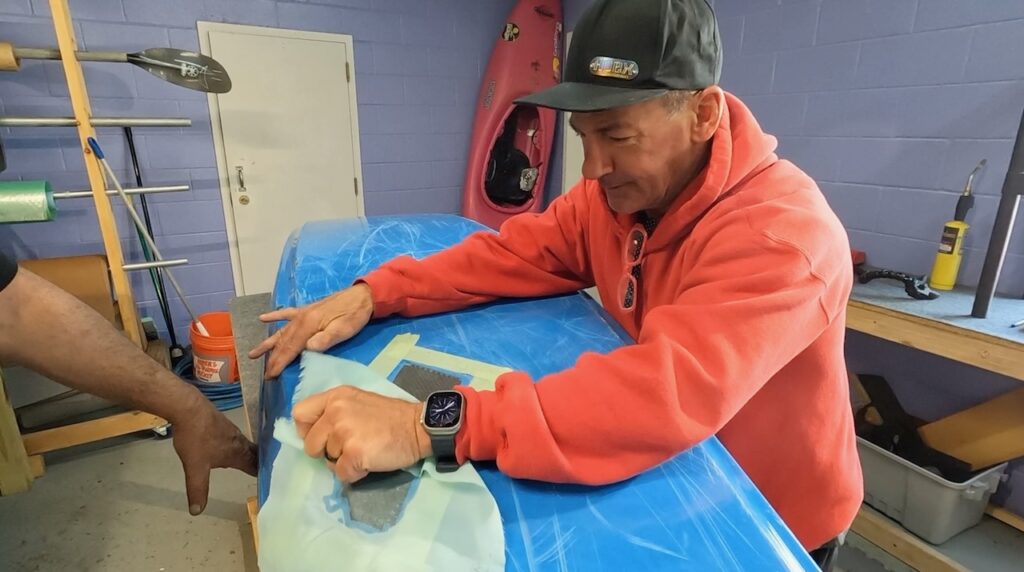
- Cover with plastic wrap. You can cut a zip lock bag, or garbage bag, or even use saran wrap to assure a smooth finish. Use masking tape to pull the plastic tight and smooth. Any wrinkles in the plastic will be a wrinkle in the resin when hardened that you will want to sand off. After fully set/hardened, remove the plastic and masking tape.
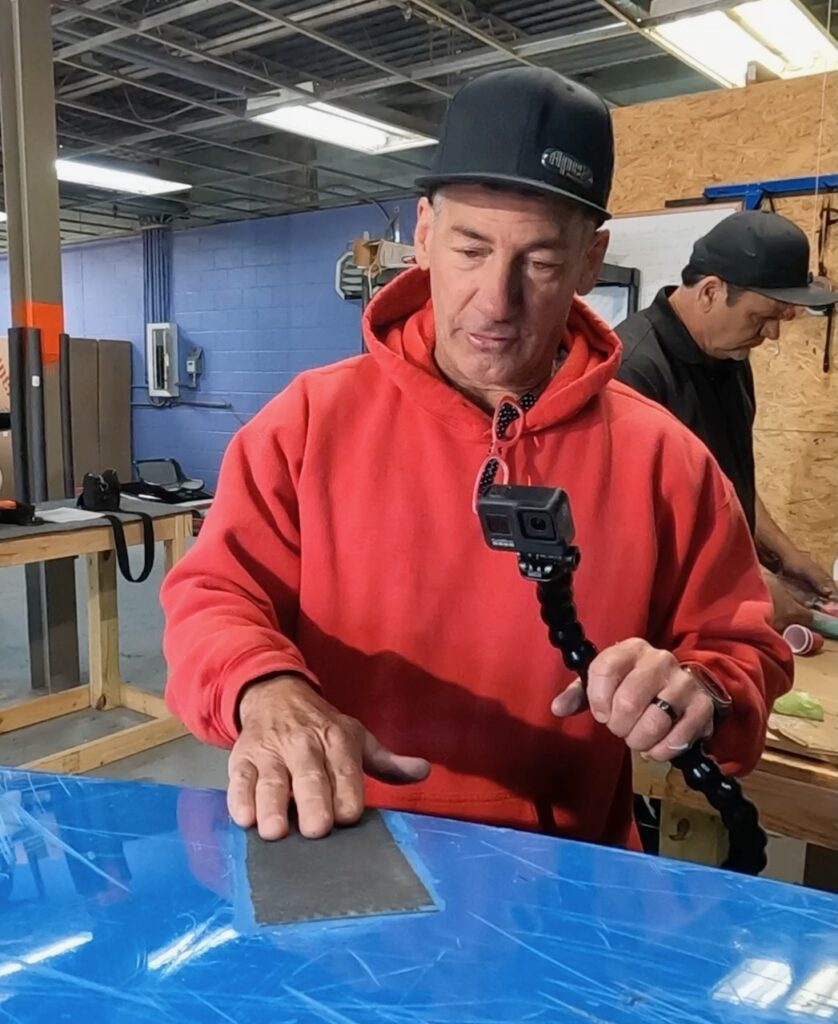
- If don’t properly, you won’t “need” to sand. If you have areas that are sticking up, they will sand down. Start with 80 grit and work your way to the 400.
- Finally, if you are fixing an area that has gel coat (colors like blue, red, etc.) you can do your best to match that color with a can of spray paint. You can get the Pantone colors from Apex for your boat.
Fixing from the inside of the boat.
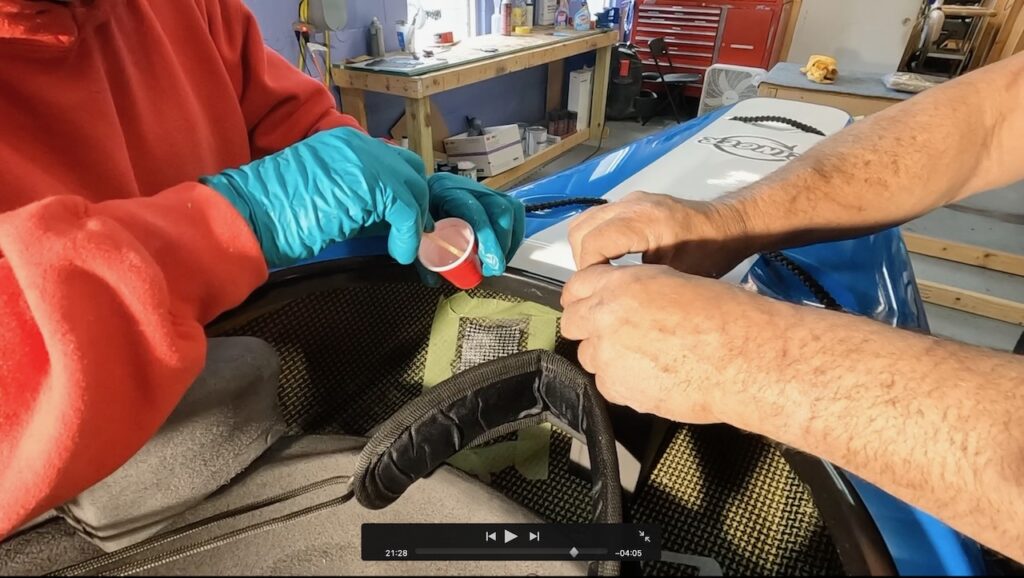
If your boat is broken through to the inside, it is also a good idea to put a patch on the inside. Your boat is foam core, so there are two layers of carbon/kevlar with foam in-between them for rigidity.
Follow the process above, but instead of 3-4 layers- using 2-3 layers of material.
The results of a patch are the following:
- Congrats, you have a battle scar to tell your friends about- wear it proudly!
- Your boat is stronger than it was before in that area. That is the beauty of carbon fiber kayaks. As long as you maintain them, you should be able to keep them going for many years.
- After a patch or two, you will be way more comfortable and be part of a group of people that can take care of their own boats and have some composite repair skills. Don’t stress- you can do it and it can be fun.


