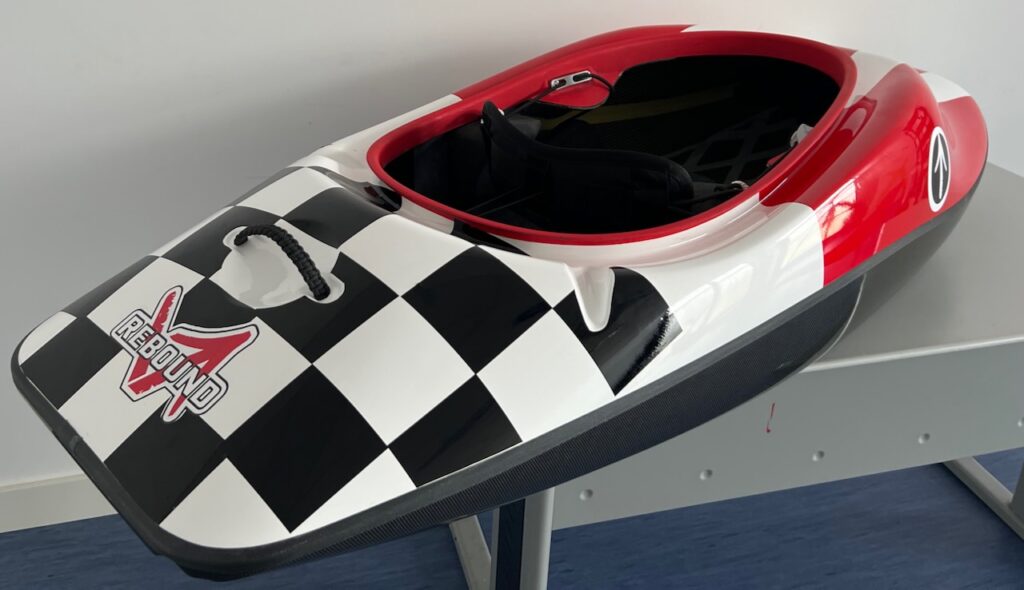
Understanding the Apex Rebound is the goal for this Blog. How the boat is made, how it performs, how to maintain it, etc.. This is your resource for ownership of the Rebound.
First let’s discuss Performance-
The boat is a joy to paddle because the characteristics are fun, easy, and predictable.
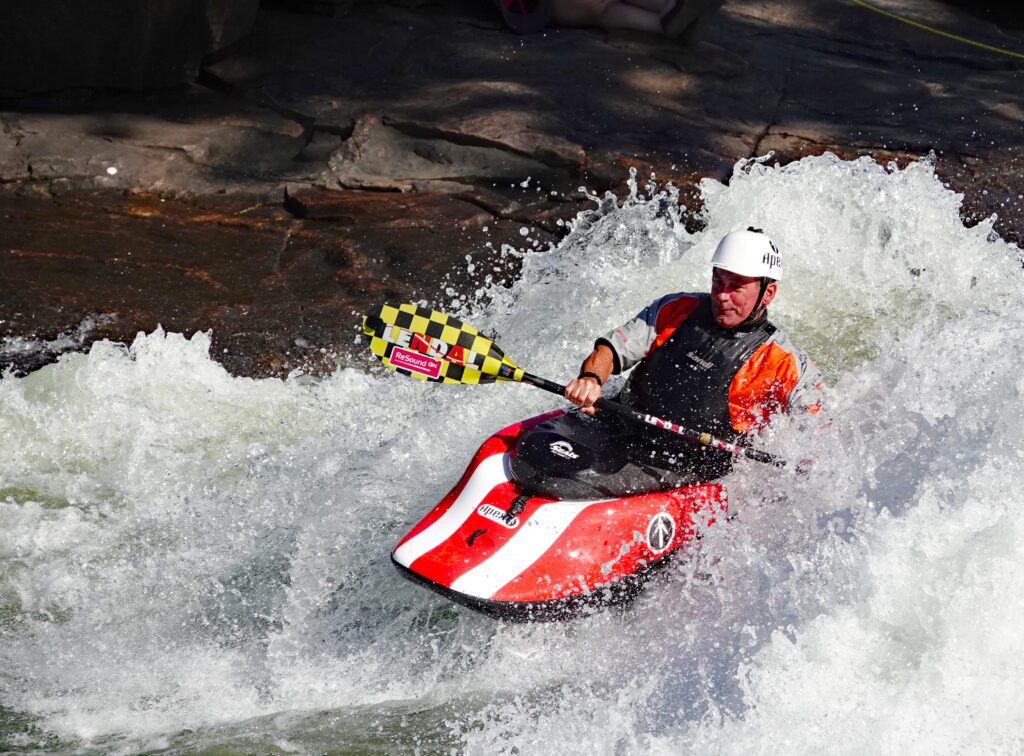
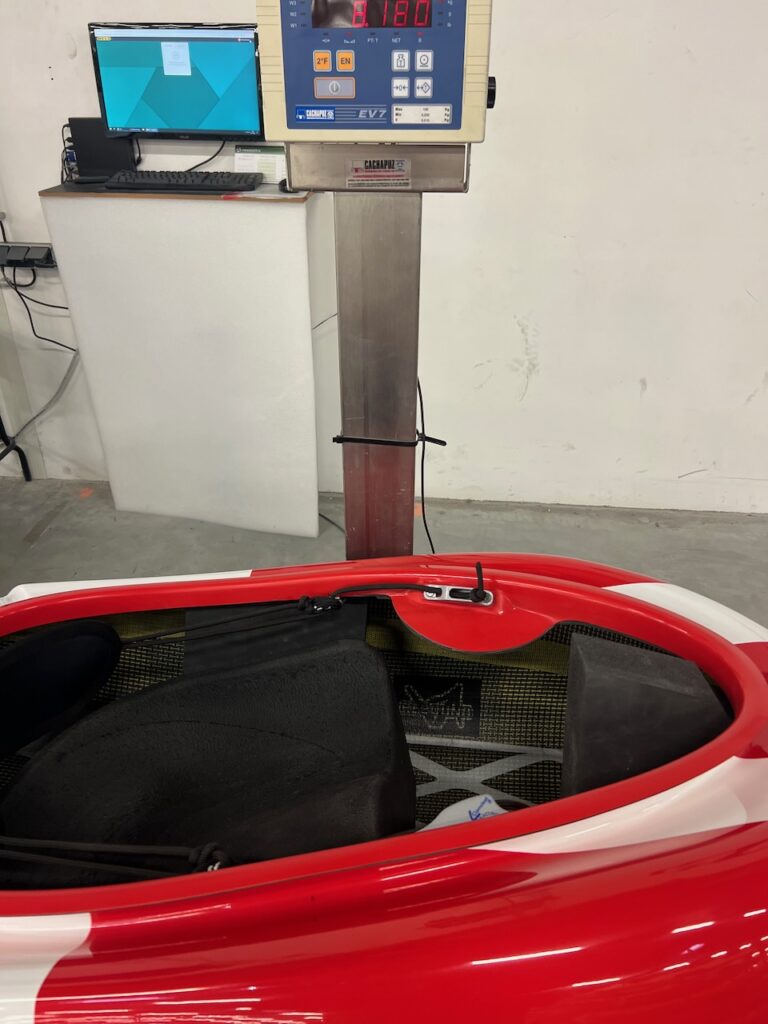
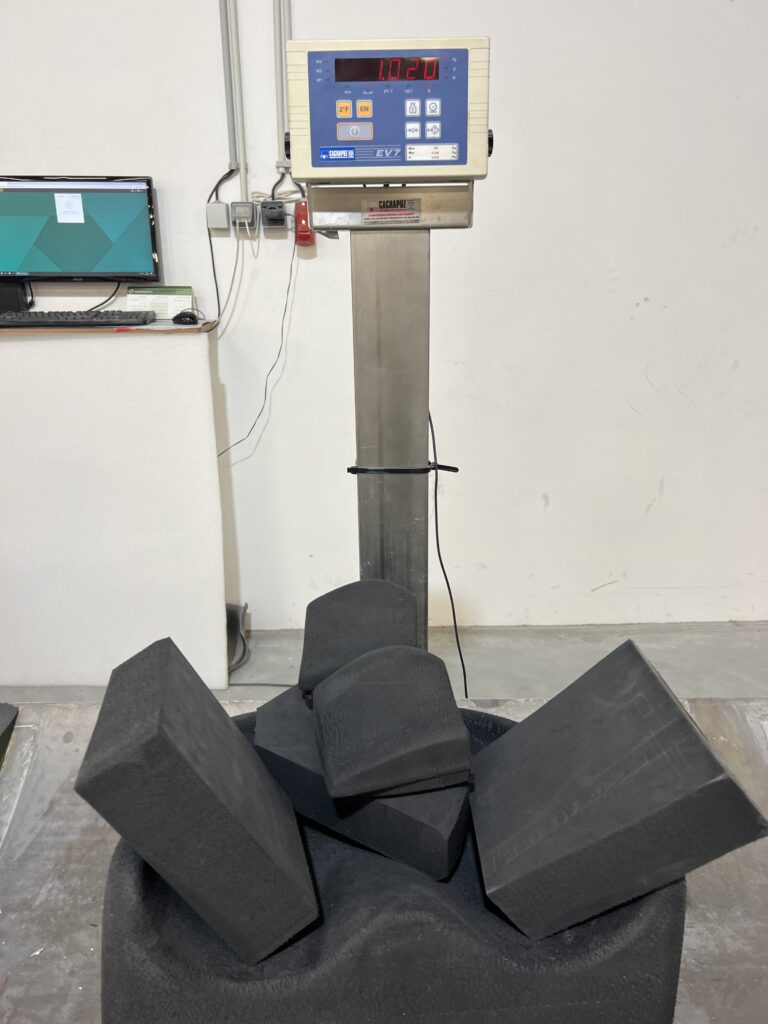
Lightest boat: at 18 pounds (8.18kg), it is the lightest boat on the market. I’ll get into how it is made later. It is so much lighter than plastic boats that it will spoil you very quickly! It is much lighter than most carbon boats, which will provide the same feeling, which is quick, responsive, and “easy”. Doing a blunt, for example takes so much less energy and is so snappy in comparison, that you will struggle when you get back into a heavy boat.
Shortest boat- short also equals fast rotating, and rotating with less energy. The “Moment Arm” is not working against you like in longer boats. Like a figure skater pulling their arms inwards to increase their rotational speed in a pirouette, the Rebound always has its arms in. This means it is easier to complete moves in the air, it makes it more retentive as you land moves more completely rotated.
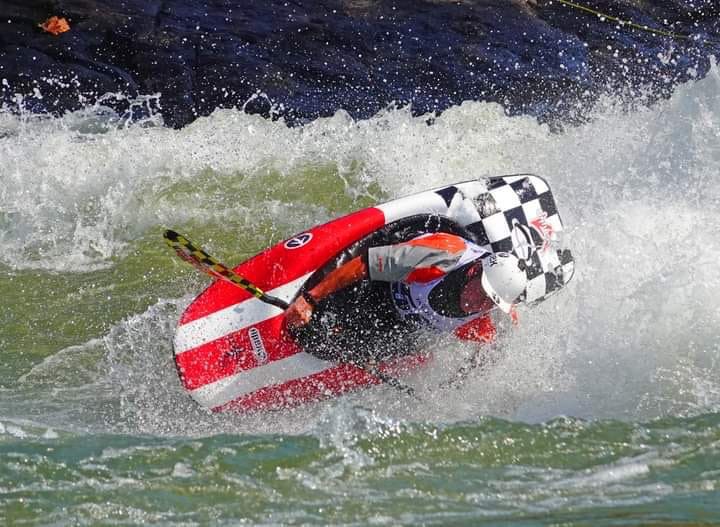
Fast and Carving on a wave- Short can be fast- the Rebound proves that. Of course we proved that back in 2009 with the 2010 All-Star when the world still believed that short was slow and our much shorter boat was faster than the much longer ones. The Rebound combines a Rocker profile that brings the speed, while allowing you huge pop off of the water.
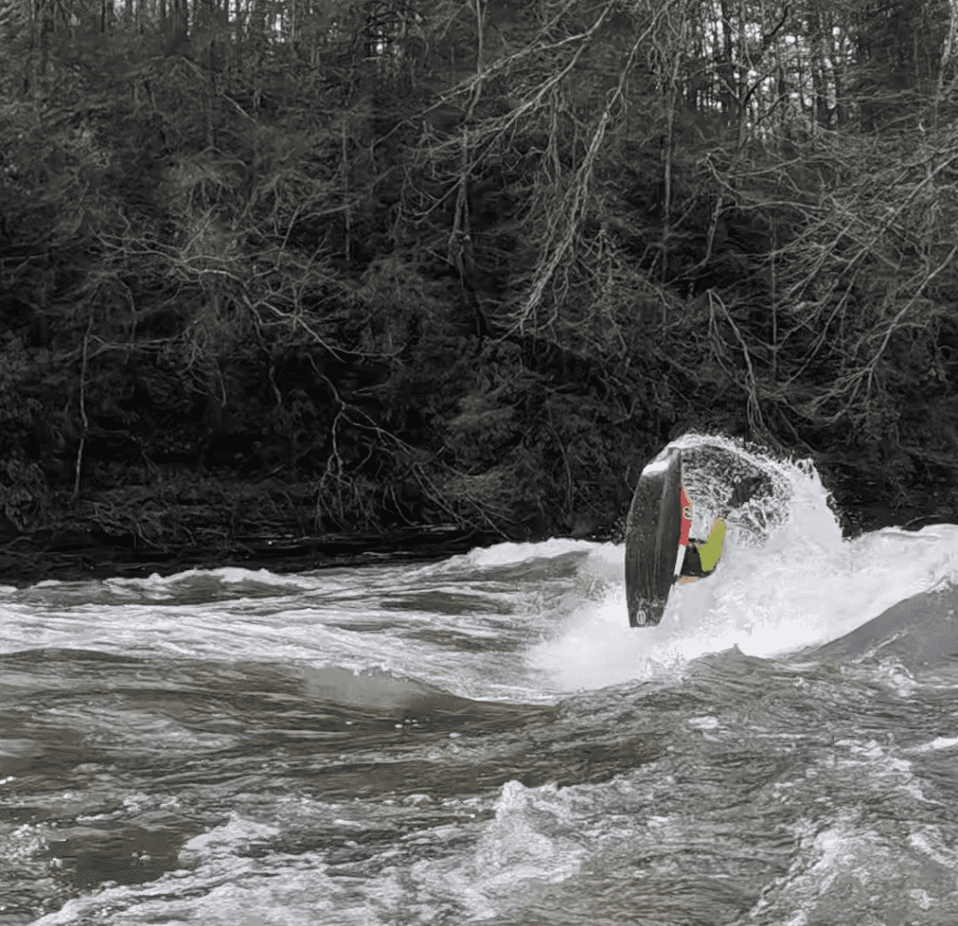
Huge Loops- There is a lot of well placed volume in the bow that rockets you out of the water with ease. This volume is not overkill, as you can still super clean cartwheel in flatwater.
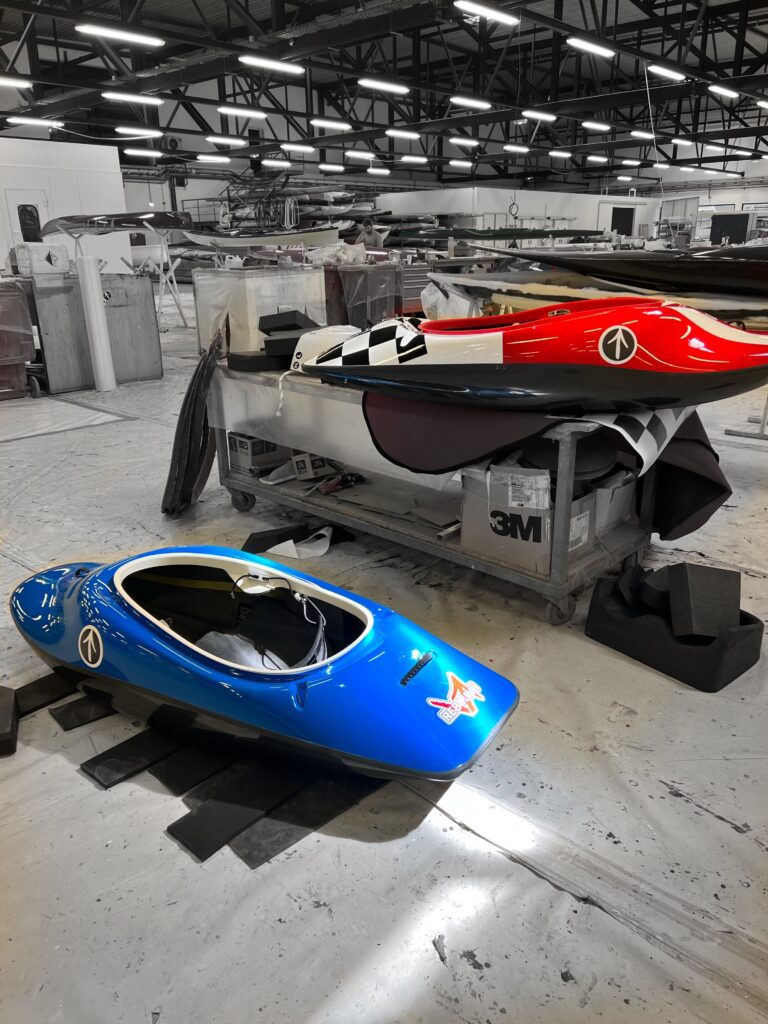
Super Comfortable Outfitting-
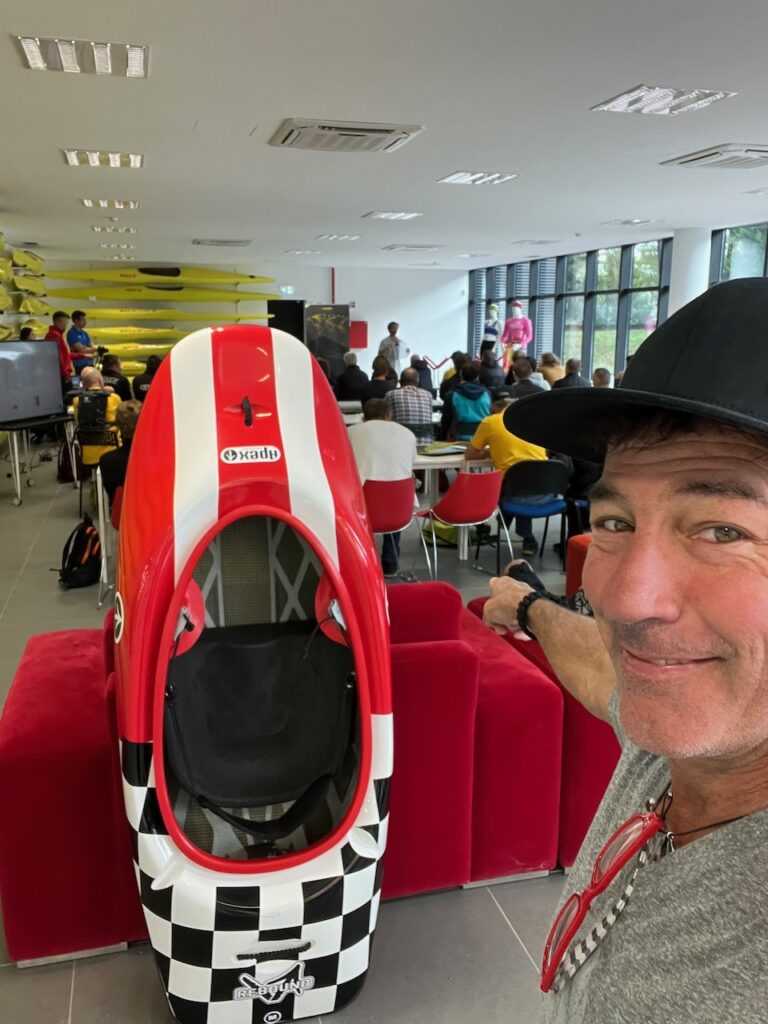
- The seat is CNC machined out of a block of foam. This has allowed me to make multiple seat shapes and tweak it to really provide both comfort and control in one package. It has more bucket shape than any other seat, eliminating sliding around. The seat has a unique “press fit” assembly that doesn’t require it to be glued in. However, if you settle on a single position that you like, it can be contact cemented in to assure it never moves. This system is very cool. I have yet to glue mine in as I like the ability to move it based on the feature.
- The Hip Pads are also CNC Machined and offer a more 3D shape, more “hook” than any others on the market. Thermo formed mini-cell hip pads are the norm and have been for 30 years. They are thin and they don’t hold their shape well and don’t offer much hook. The Rebound provides retention in the kayak, and really locks over your hip bone.
- Backband- The OG Cleat Backband has been improved with aluminum cleats that are a big improvement over the plastic ones in terms of longevity and locking down the rope. The rope was selected after using about 10 different sizes, materials, weaves in the prototype stage. This rope has a small amount of stretch which really adds comfort if you have it super tight and do a hard move against it.
- Footblock- this is, admittedly, our weakest piece of outfitting right now. It is an oversized mini-cell foam wedge that you must trim yourself to fit. Since everyone has different leg lengths, foot sizes, and seat positions, you can’t cut them to size at the factory and expect it to be right. I have some Ideas that I’ll want to play with to improve the experience for you when you are sitting at home working on the perfect footblock.
- Thighhooks- It took us two different molds to get these right. “We want aggressive thigh hooks” is a common theme among paddlers that never had them. I went overboard in the first generation and it was not right. However, the second generation, which is what comes in your new Rebound, is a perfect mix of control, comfort, and ease of customizing. They are slightly oversized (they extend beyond your leg, unless you have very “oversized” legs). This allows you to add more foam if you want and have enough area to bond it securely. I have not been adding any extra foam to the thin layer of mini-cell that pads out the knee pocket and thigh brace and find it to have a ton of control. Being made of carbon (and reinforced with fiberglass as well) the thigh area is super stiff and strong to support the backband cleat, and allow you to apply as much pressure on it as you want and it won’t flex. Plastic boats have very soft, flexible thigh hooks that don’t really do much to hold you in. Just lift up on them to see what I mean. Being non-flexible, but shaped properly allows you to use them as much or little as you want based on your preference.
- Front and Rear Walls- These are not glued in as you don’t need them for most features and you can drop the weight of the boat into the mid- 7KG, or 17pound marks. Since the boat is super stiff (full foam core) you don’t need them for rigidity.
- What you do want to use them for is: Hole Moves- the front wall comes with a “thruster block” that glues onto it and provides the extra volume you want for huge loops. It is easy to get into and out of the boat with the front wall and thruster block. Also, you can easily remove the front wall/thruster if you don’t want to use it that day.
- Rear block takes pressure off of the stern if you are landing on it hard on wave moves or on loop moves. I recommend leaving it in unless you want to lose .5 pounds out of the boat and are not surfing massive waves.
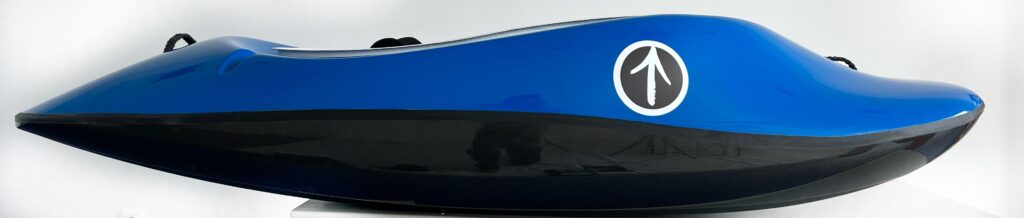
Slicey stern-
For control on a wave with minimum water resistance for quick turning. (Everyone knows how hard it is to do fast or hard turns in a creek boat on a wave- use that for a reference point and extrapolate that out to freestyle boats. Some are easier to bring from one direction to another and it is based on length of stern, how slicey the stern is, and the rocker and Chine shapes. The Rebounds slicey stern is great for waves. It is also great for moves like Lunar orbits, carwheel moves, tricky woo, and more.
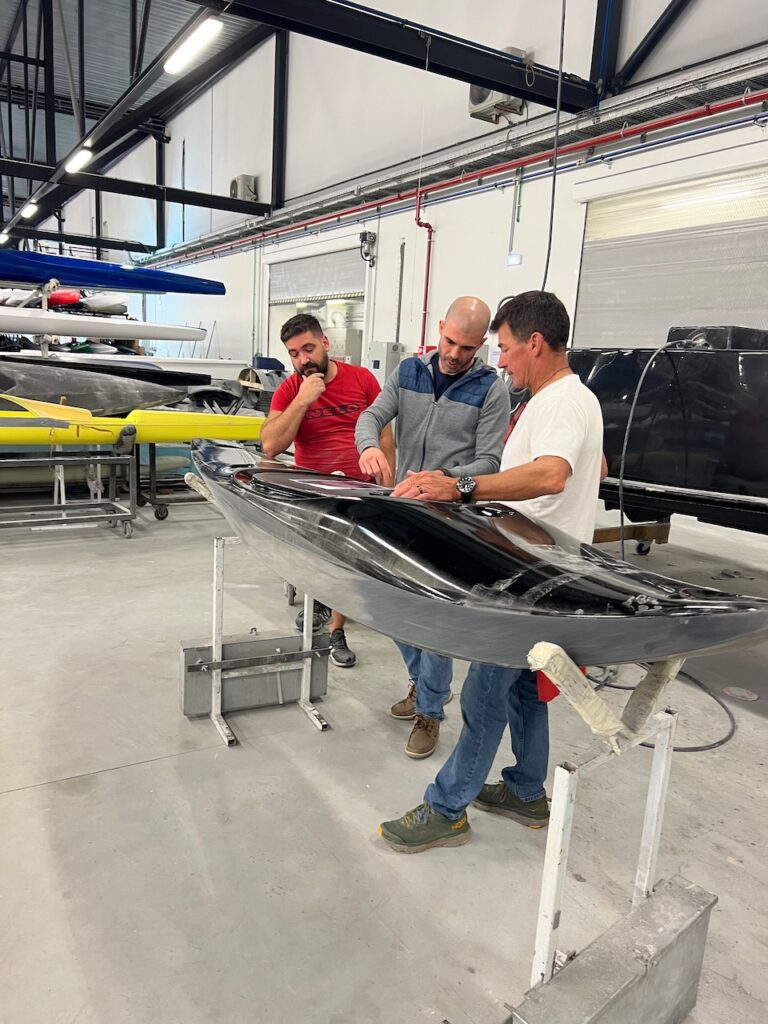
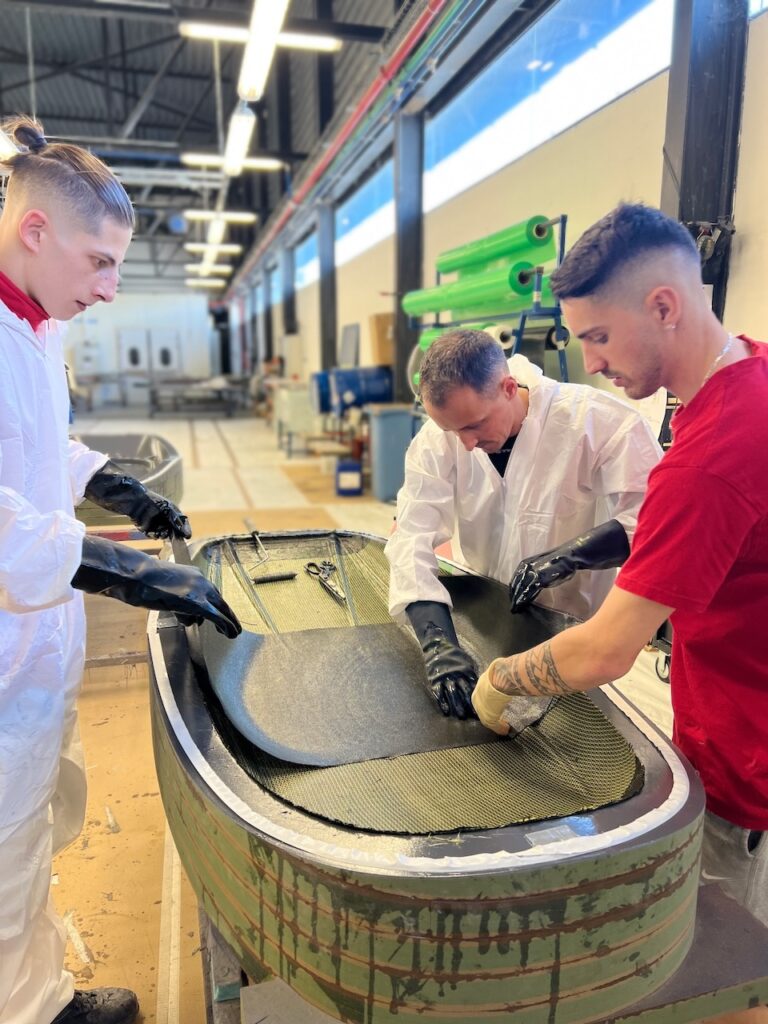
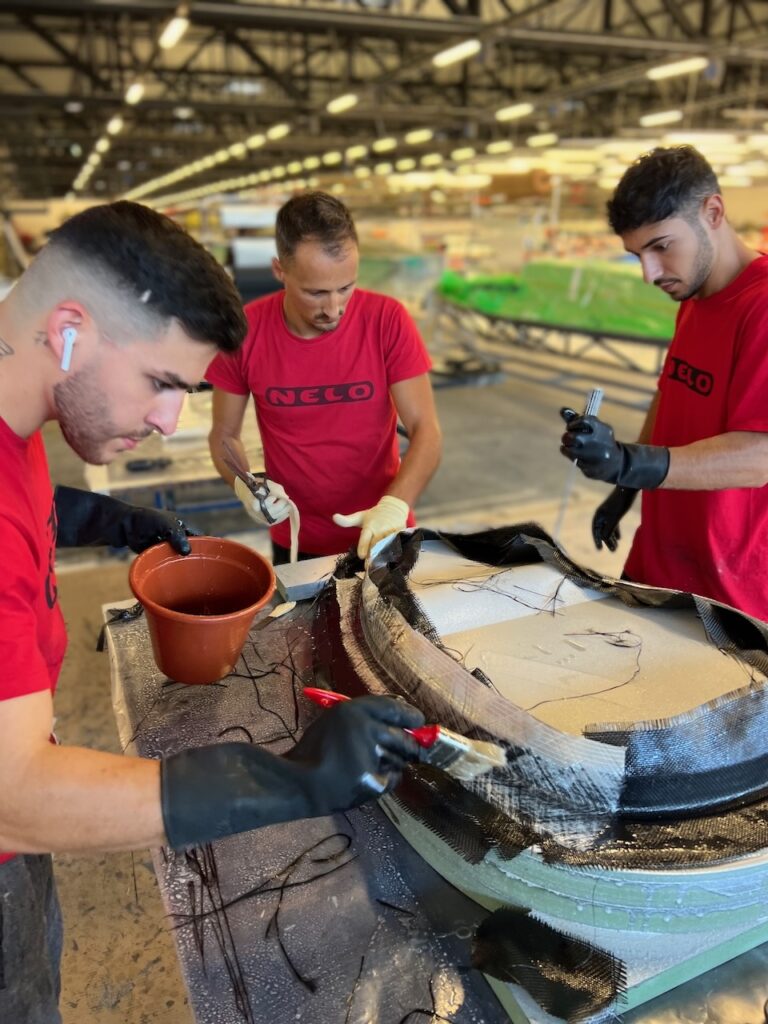
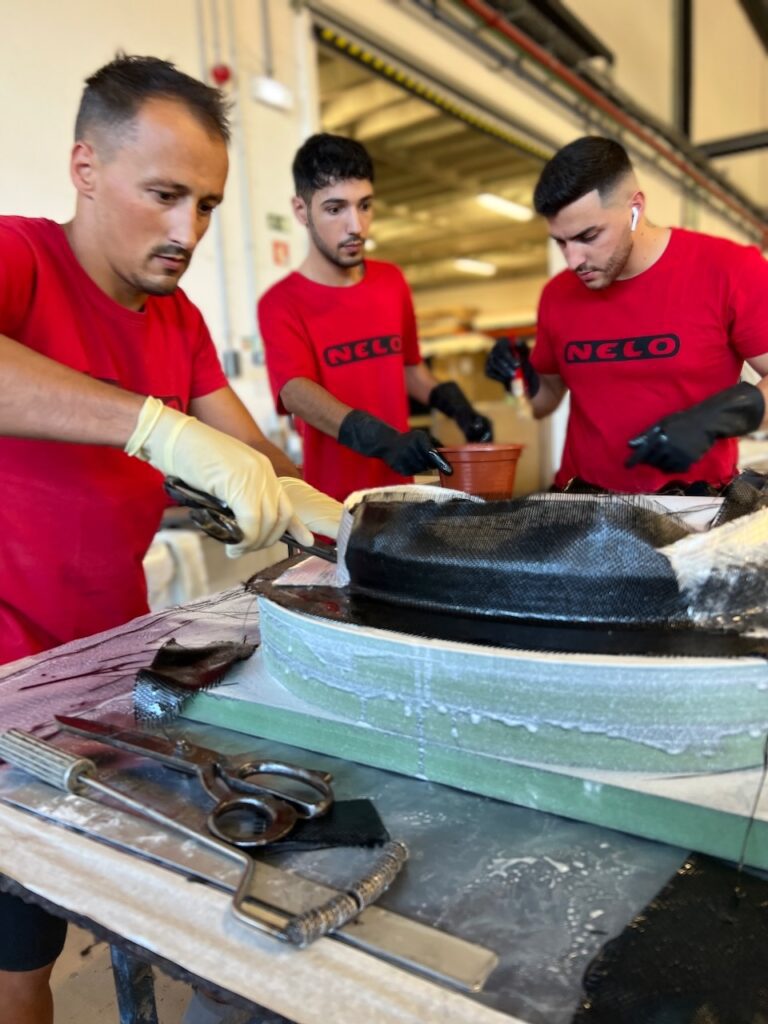
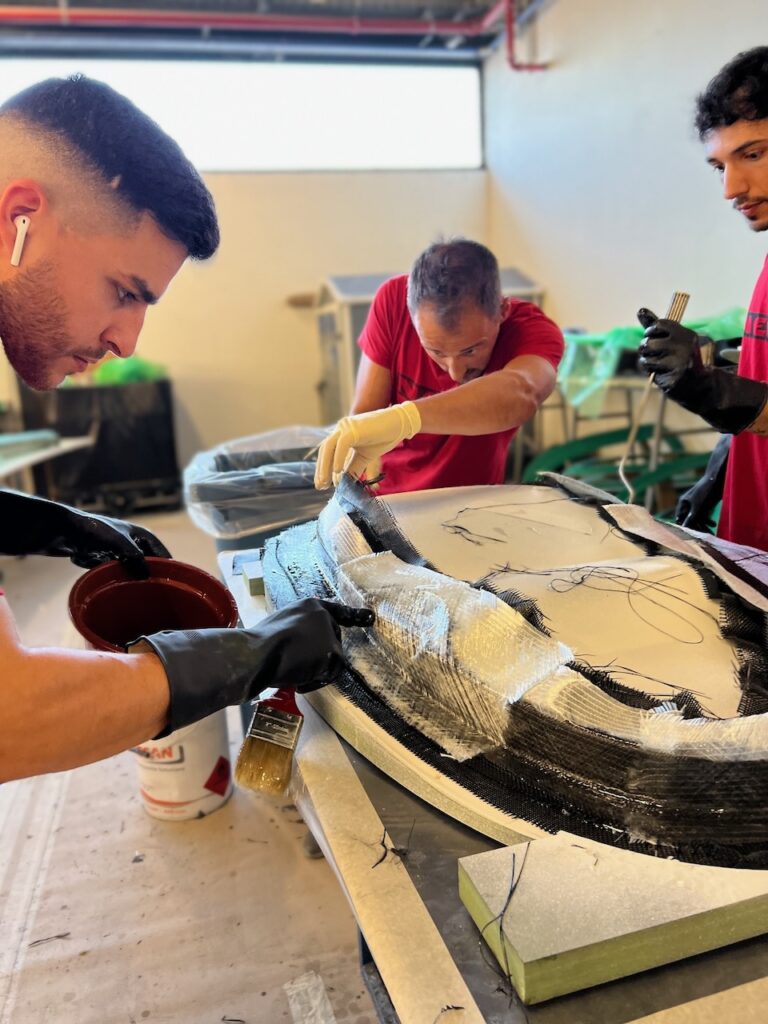
Construction of the boat- This is something I am very proud of:
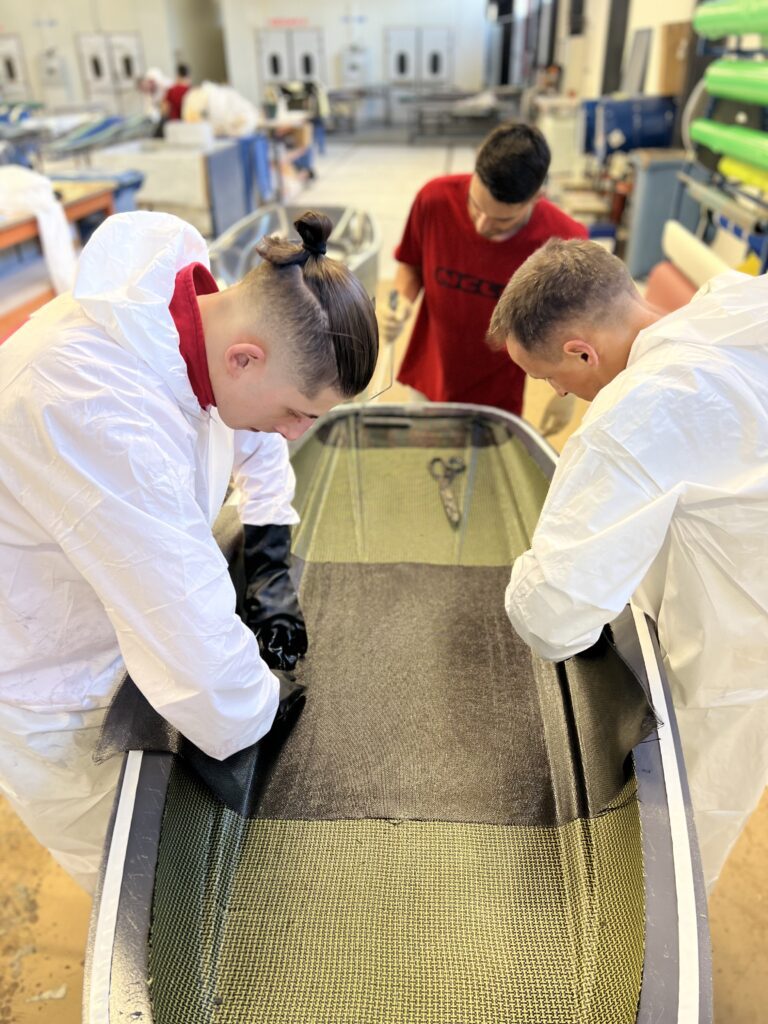
First off the boat is made using the “Wet lay-up” technique, not the “infusion” technique. For 99% of you out there, that seems like a negative, not a positive. Yes, there are benefits to infusion, but making the lightest, strongest boat is not one of them! Why is that? Because infusion requires that all of the materials allow resin to flow through them for it to work. This eliminates PVC foam core, unless you perforate it with a thousand holes. If you do perforate it, then you’ll have resin filling each of those thousand plus holes and that adds a lot of weight! (For a reference point- the Apex Tyr fishing kayak infused is 5 pounds heavier than wet layup, due to those holes alone!). While a Rebound would only be 1.5 pounds heavier, that is a lot of dead weight.
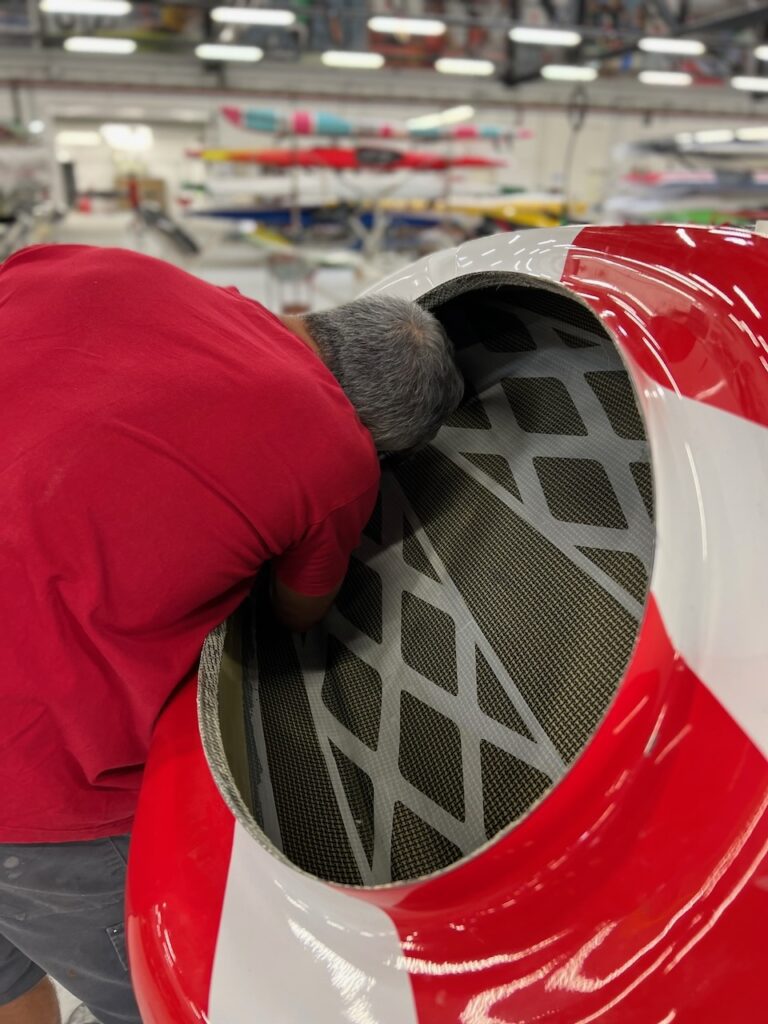
Next- One Piece construction- What does that mean? It means that instead of laying up a hull and a deck in their respective molds, and then popping them out of the mold, trimming them separately, and finally taping and seaming them together on the inside, and then outside, we are putting the deck mold on the hull mold and creating a single part that is perfectly matched and structurally more sound.

Downsides of the old school way of two parts seamed together?
- Trimming is manual and the deck and hull never fit perfectly. Gaps, high points, etc. that you chase around until they fit “well”, but not perfectly.
- Taping together is hard to do perfectly- you get some waves where the deck and hull don’t match up.
- Structure- you rarely have as many layers of material bonding the deck and hull together (seams) as the actual boat itself. It is a weak point that breaks apart. (Ask any slalom racer)
The Rebound (And Ringer) are layed up with the layers of carbon, foam core, carbon/kevlar weave separately and leaving the correct amount of overhang of material that will be laid on top of each other when the molds are combined. I am not going to go into detail on the next steps, as it took a long time to perfect, and anyone else that wants to try it will have to figure that out on their own. However, once the deck and hull are stacked and clamped together the vacuum bags and pressure bags pull the material super tight with no air, and for extra strength, we added an inside seam (during this process, not after the fact) that assures the seam line is stronger than the rest of the boat!

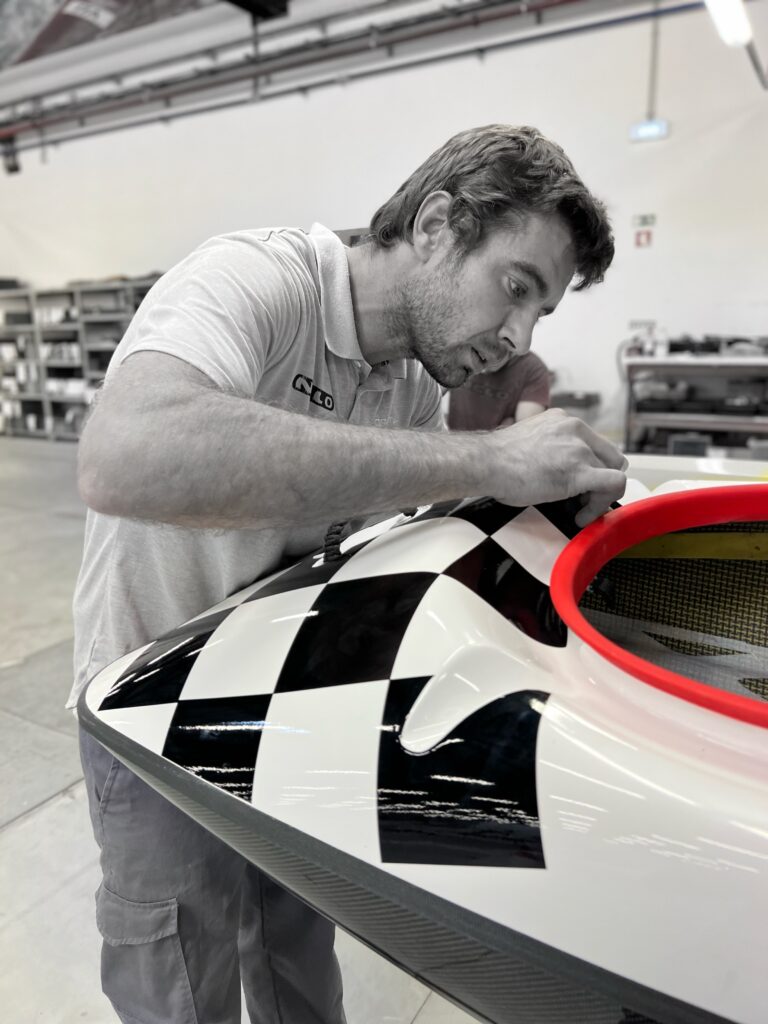
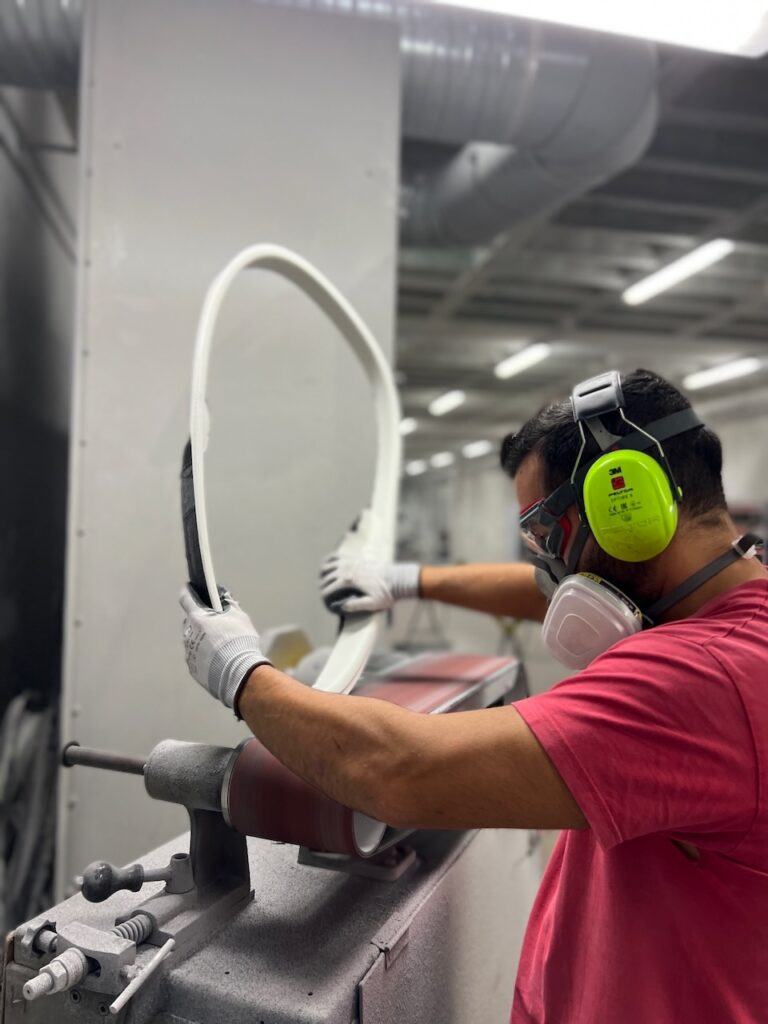
Cockpit rim- There are cockpit rims that mimic plastic boat rims- this was to try to help sell plastic boats by making it hard for people to realize the boats were carbon. The best rims are light and strong and dry. Our rim on the Rebound (and Ringer) is “2D” not “3D”. This means that the is much less surface area to beef up. Our rim is super strong compared to the 3D rims and much lighter weight. If you want it to be super dry, add weather stripping/sealing tape around the throat of the cockpit and any good skirt will seal perfectly. (This is true for any rim- plastic or carbon)
Maintenance of your Apex Carbon Whitewater boat:
My brands have built and sold hundreds of thousands of plastic kayaks and they exist out there in the marketplace today, or are broken and retired. My brands have built less than 100 carbon boats, and the reality is that the kayaking world has such little experience with carbon boats that we have to start at the beginning here. If you have owned carbon boats, don’t be offended if I am starting out below your level of knowledge here.
Your carbon Apex Rebound should outlast your plastic Apex Rebound. This is because you can fix it if you do break it, and it will be as strong, or stronger than before you broke it!
About plastic boats: Polyethylene (plastic) has the issue that nothing bonds to it, so the only way to fix it is with tape that will come off, or welding it. Welding creates weak points, and plastic simply wears off until it is too thin, and the sun makes it brittle.
Specifics for your Rebound (or Ringer):
The boat is designed to be extremely strong for its weight. It also has local reinforcements in high impact areas (extra layers of carbon). Those areas are the obvious- bow and stern for loops or blunts that hit bottom, and under the seat area for getting into and out of the water, booting rocks, etc.. There is also local reinforcements in areas that nobody would imagine is important, until you own a carbon boat without it and paddle it hard. They are high stress areas on the deck that will crack when you hit bottom on loops (bow near chins) and on the stern deck where you stress on big airscrews on big waves when your back hits the stern deck on landing.
What you can and shouldn’t do with your boat:
- I get into and out of the water on the rocks/shore. I know I am scratching the hull and will wear into the carbon at some point. However, it is worth it to me. I do the same with plastic. Watching people stress to a very high level about scratching their boat reminds me that your approach to owning a carbon boat is up to you. I like having scratches that show I was using my boat. However, I don’t want to damage it unnecessarily.
- Avoid sharp rocks if possible when sliding in.
- Slide in on dirt, leaves, grass, etc, when possible.
- Some people, if you are doing park and play- will bring a piece of carpet and put on shore to slide in.
- Impacts- you will hit your boat on rocks. You will loop and hit bottom. The less you do that, and the less hard you do that, the less chance you’ll break your boat. I haven’t broken a Rebound yet, FYI. I have been playing at Rock Island, Nottingham, Columbus, Ocoee, NOC, etc.. I am not “careful” with it, but aware of what will and won’t break it.
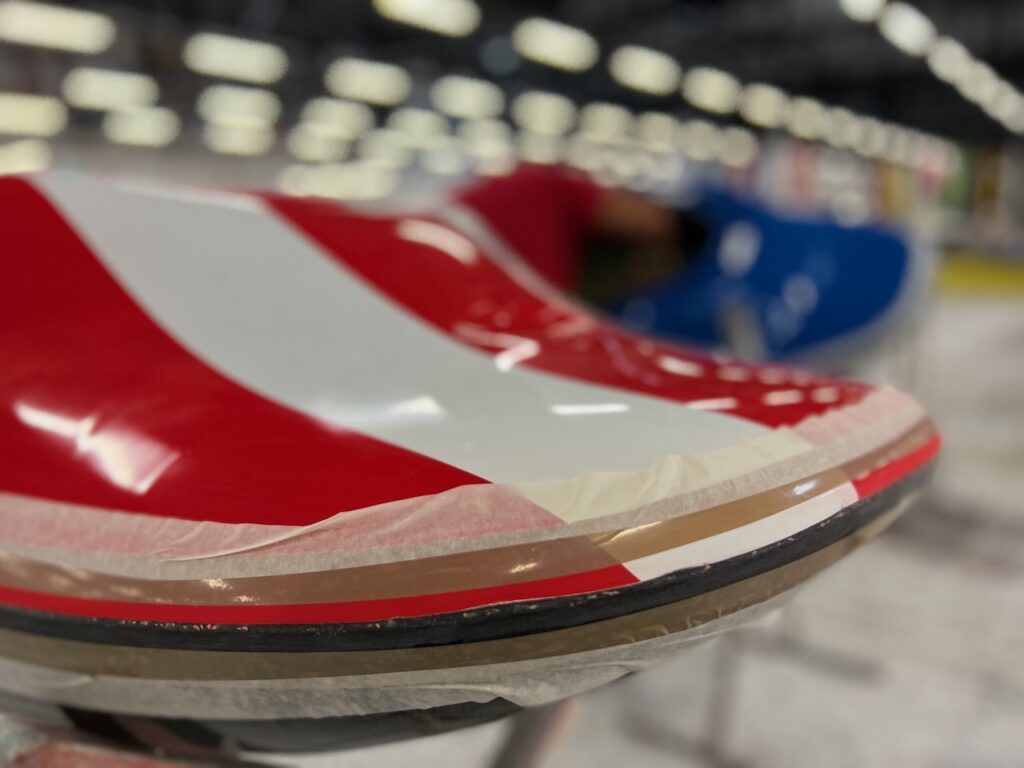
- Polishing it- you can wet sand and buff your boat into a beautiful piece of art after abusing it. Especially the deck. If your hull gets deep scratches in it, you don’t want to sand the entire hull down to that level, so you should expect to see those scratches even after buffing.
- Water- While your boat should not absorb water, however, if you do get cracks in it, that area can get some water into it. I like to sponge out my boat after using it and stand it vertically to dry completely. This assures that it never holds any water anywhere, and this is more important after years of use.
Repairing your boat- If you use your boat hard enough, eventually you’ll break something. If you never break it, you are not using it very hard or often. While I haven’t broken mine yet, I would expect to at some point. I don’t want to break it, but it doesn’t stress me out as it is easy to fix and will be as strong as before after repair.
Repair Kit- I recommend you order yourself a kit from Davey Hearn (World Champion Slalom Racer that I trained and raced with for 15 years)- http://www.sweetcomposites.com/
High Impact Epoxy (not infusion)
Carbon fiber cloth- 9 square feet
Carbon Kevlar Cloth- 9 square feet
Kevlar Tape (outside seam)- 1” x 10’
Latex gloves
80 grit sand paper
220 sand paper
400 sand paper
800 sand paper
1000 sand paper
Peel Ply- 9 square feet
Brushes
Mixing cups
sharp scissors
Tackle box to put it all in.
Ask Davey if you need anything else.
Bow breakage due to looping onto rocks really hard. You can hit Bottom 100 times and not break it. However, you will tear up the Kevlar seam, which is there to protect the carbon. And, if you hit it hard enough, you’ll break the bow.
I recommend always using at least 3 layers of carbon to repair a crack, and 5 layers to repair anything really structurally damaged. 7 layers if it is an open hole in a high impact area.
Meanwhile- this YouTube video will help get you going. https://www.youtube.com/watch?v=Xm2Ezo70vFI
If I break my boat, I’ll do a video of me fixing it. Need to break it first!
Boat Bag- I keep my boat in a boat bag. This bag is breathable and is there to help with travel and prevent scratching.
Travel- you can stuff clothing and gear in your boat, and a break down paddle and use it like a suit case with the bag.
To and from river- Put in back of pick up truck or tie on roof with other boats and not get it scuffed up.
I hope this helps!!
FYI- a Few Stats and Credits;
- CAD Work- Mark Nordstrom- Boat, Seat, Hip Pads, and Cockpit rim.
- Manufacturing- Nelo
- Logo- Nate Jeffrey
- Tyr Logo- EJ
🙂
EJ